


Mr. Do! Instruction Card Restoration

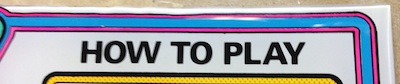
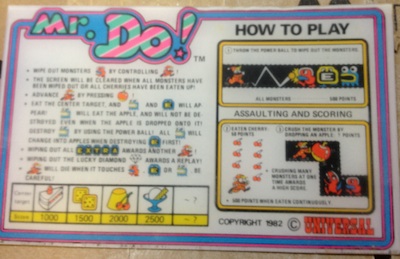
Cigarette burns are common on any plastic parts near the player. My Universal Mr. Do! has a black piece of plexiglas were the instruction card should be gleaming in all it’s lo-res artistic rendering. I acquired a card from another collector and decided to try to clean it up and eventually replace my blank, black, boring card hole.
Posting for Help
I posted a plea for help on the KLOV forums and got some quick answers and messages indicating I should consider using a headlight restoration kit. It was about $20 and was a great answer. The instruction were long and detailed. They have “How To” videos posted, it was not something I could screw up.
Gathering Tools
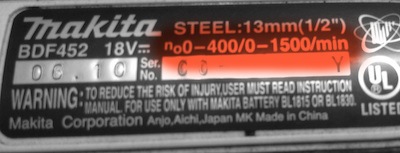
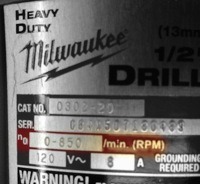
The kit assumes you have a drill that spins at 1200-1500 RPM. I have a plug in drill that is called Heavy Duty and serves me well when drilling holes through floors, walls and everything else I throw at it. I figured it was up to the task. WRONG! My trusted heavy duty Milwaukee only travels 850 RPM. I had to step down to my cordless screwgun, but it worked.
LESSON 1: Check your speed.
LESSON 2: Spray Bottle
The kit fails to mention you will need a spray bottle with water to lubricate the 1500 grit pad. I had to stop in the middle and get one from home.
LESSON 3: Safety Kit
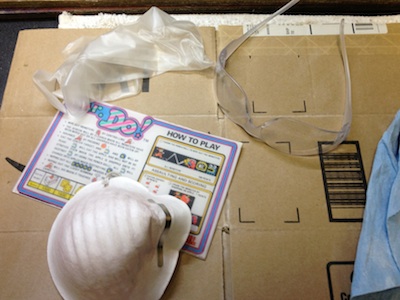
3M indicates you will want safety equipment. They are not kidding, I was choking on plastic dust and it was caking around my eyes right from the start. Round 4 includes a buffing paste the “may cause skin irritation” they mean WILL cause skin irritation. I included a glove in the safety kit.
LESSON 4: Work Area
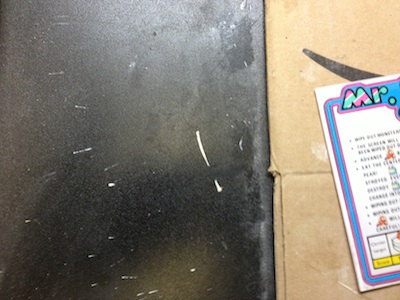
The kit assumes you are working on a headlight in a car. They recommend double thick tape on the paint around the headlight. I used a collapsed cardboard box to protect the work bench top. It is a very dusty process. Frequent cleaning of the work and the pads are recommended. This avoids gathering molten plastic on the pad and then gouging the work with it at 1500 RPM. I used about 6 paper towels during the process.
First Round
The first round of sanding is the toughest. The 500 grit pad kicks out serious dust. I was also afraid I was going to take too much off the work but I kept going and it never happened. This first pass was also very sensitive to the edges and tore up one pad.
The plastic was very hazy after the first pass. I was now sure I had screwed it up. I had gone over it too many times or got it too hot and melted it. Wrong. It turned out fine in the end. I had to make many passes in the first round to get the yellow spots out and the burn in the bright white area. I had to essentially cut a new top edge where the multiple burns had made it sawtoothed.
Second Round
This round was much easier. It still kicked out dust but I was not removing much, just polishing. It was still very hazy at this point. I was discouraged.
Third Round
This was the round that wanted water mist. I had to break here and get a spray bottle from home. The water makes the dust of the other rounds into white slurry. Less to inhale but messy. I made 7 passes in this round.
Fourth Round
The polishing goop. I put on the gloves and made a small dime sized spot in the middle of the pad. I then smeared the polish on the work. Just as instructed.
It was a mess! The polish spit out all over the work bench, hit the walls, floor and my pants. Maybe less than a dime?
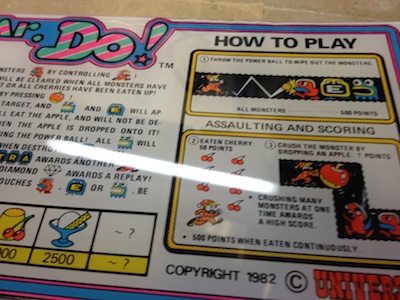
Messy but effective, the third round had finally removed the haze created in the first two rounds. This polish goop made it shine. It is positively mirror like.
Links
More: photos